


Basements Quick and Easy part 2

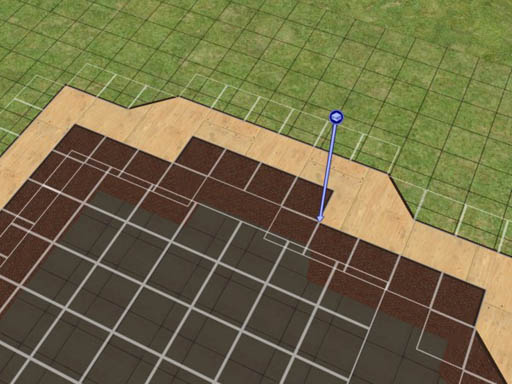
19. I must have had something in mind when I made this detail shot.
20. And this one.
21. This one, too!
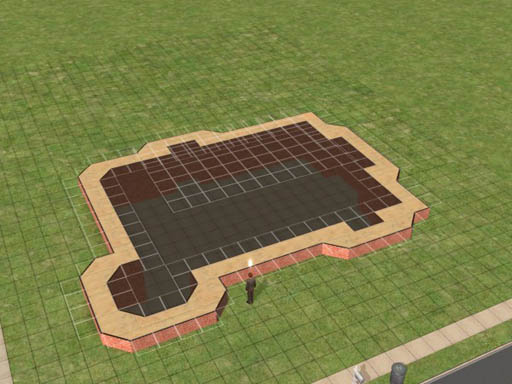
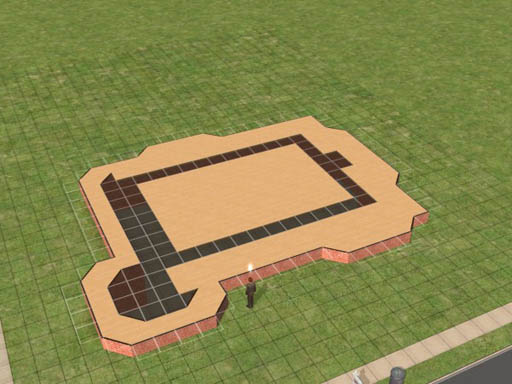
Now when it's all done, look at what some of those diagonal walls did to our basement floor. Where the walls are convex, it leaves a sloping floor.
22. Convex diagonals left sloping floors in the basement.
I don't like that effect, so I square off those corners to bury the sloping floor.
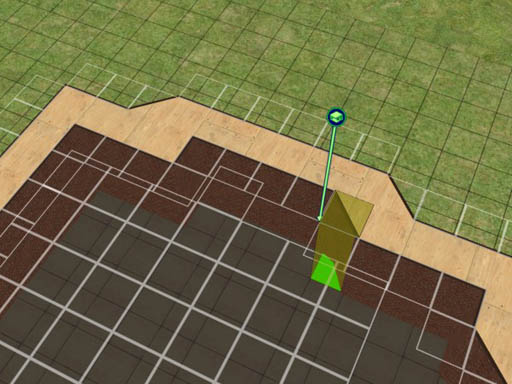
23. One little square of foundation tidies up those corners.
24. Much nicer; no ankle-breaking sloping floor here!
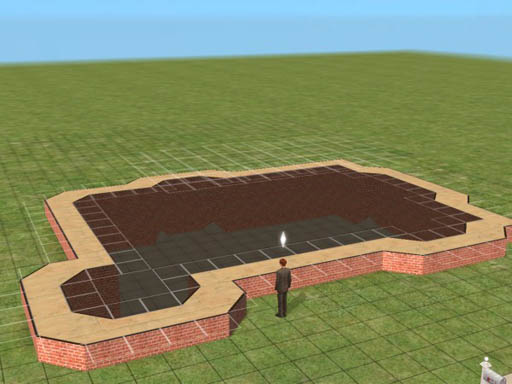
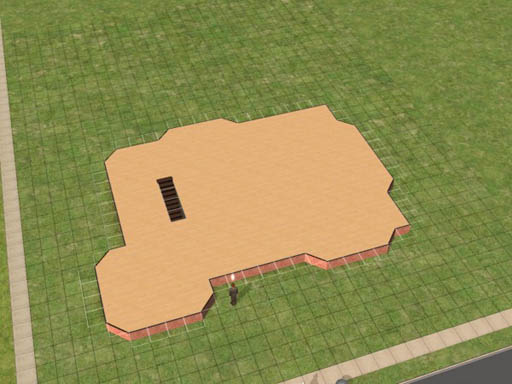
With the whole foundation done, now you're faced with the scary prospect
of having the some of the floor tiles apparently floating above the
level of the first floor. Be not affrighted.
25. The floor above the basement
doesn't seem to line up.
No problem! Just pick a nice floor tile. Select a square on the
foundation at the level you want the floor, and drag across those
floating squares.
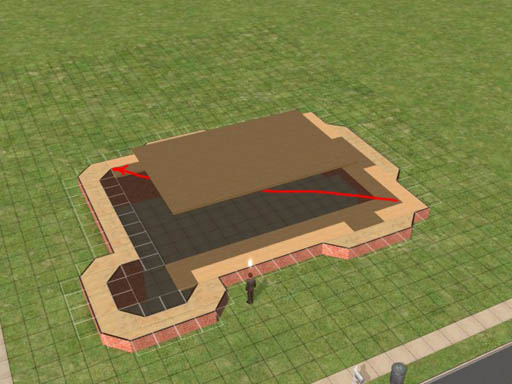
26. Add a floor, starting at the level
of the foundation and sweeping across the mess.
When you release the mouse, voila! The floating floor tiles snap into
place!
(Some tutorials talk about using the 'boolprop constrainfloorelevation
false' command here. I've never needed it.)
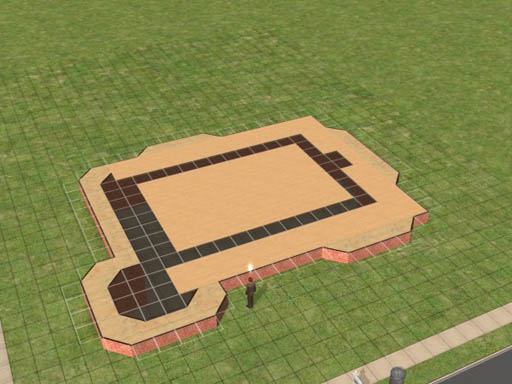
27. The floor levels out when you
release the mouse button.
28. You can shift-click to fill in the
floor to the edges of the foundation.

29. Fill in the holes in your floor,
and then cut out a 1x4 slot for the cellar stairs.
An interior stair needs a 1x3 space in the floor above it for clearance.
Exterior stairs need 1x4. I like to use exterior stairs inside
because sims will follow each other up and down exterior stairs. If you
use an interior staircase, they won't mount the stair until it's
completely clear and often forget the commands that made them want to go
up the stairs.
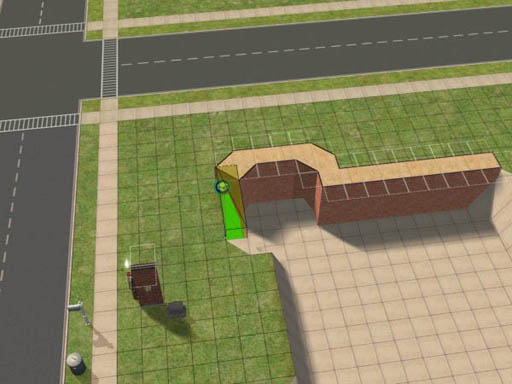
30. I used an exterior staircase to
reach the basement.
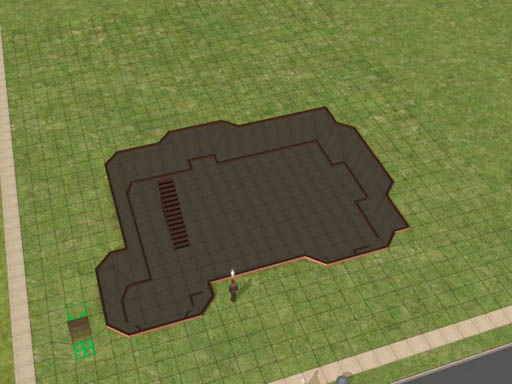
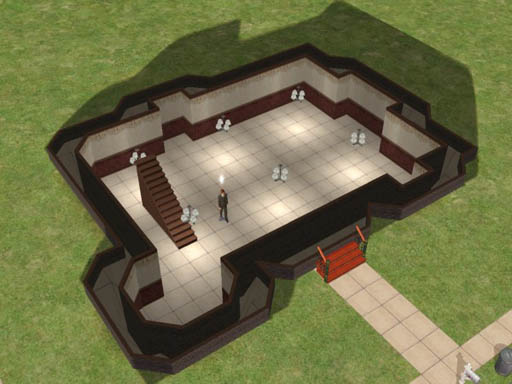
31. Our completed basement, with
staircase.
(Just ignore the little staircase in the left. I just happened to leave
the stair tool resting there when I made the screen shot.)
Well, now that we've built the foundation, let's finish off the house
above it!
Wilhelm wants to build this house to impress his girlfriend. so we'll
make it look nice. If all goes well, he'll only be living here for
about 2 hours; but it's an important two hours!
Part of the front porch will be roofed over so I added some ceiling
lights. To get them to go outdoors, I used the 'move_objects on'
command. Ditto for the burlgar alarm.
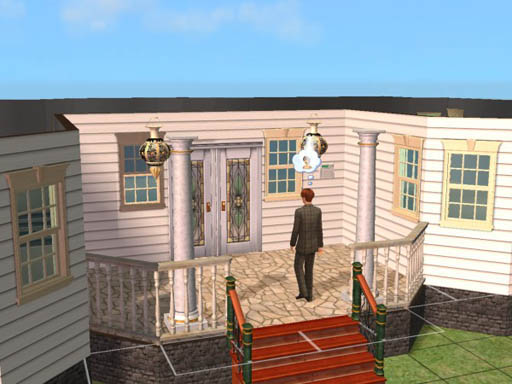
32. I extended the front porch out
another square to add some more architectural interest.
Note that I always paint the interior of the foundation walls. That raw
brick just seems to look funny otherwise.
33. Ceiling lights are vital in the
basement. Otherwise it's too dark and the sims will hate it.
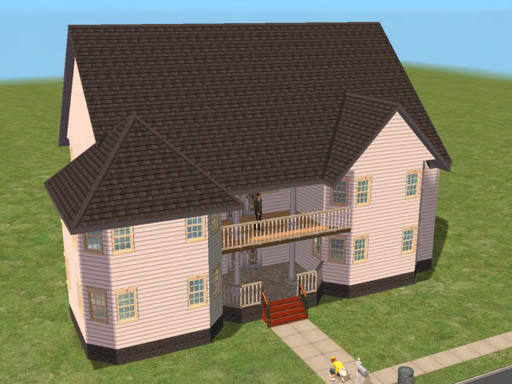
34. The completed house. Wilhelm
enjoys the view from the balcony.
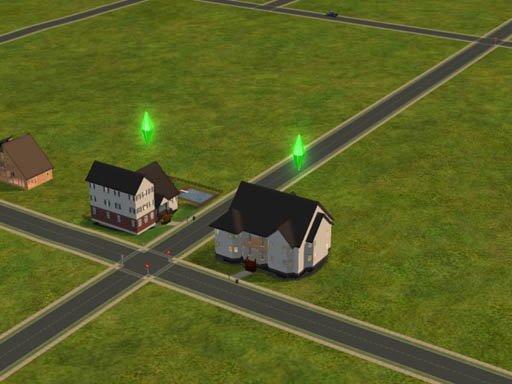
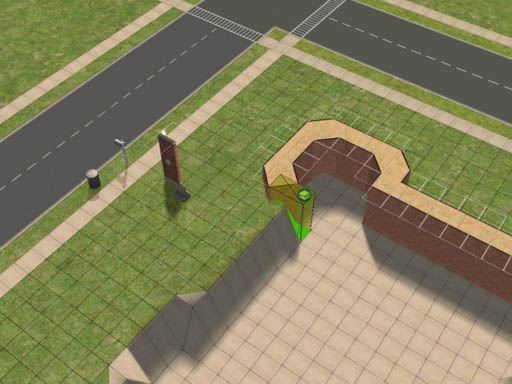
35. Our new construction in the
neighborhood.
Wilhelm's girlfriend lives right across the street. The third floor of
the bedroom wing is the servants' quarters, of course!


 Limited Time Offer
 For a limited time only, we’re giving away a free


